As an Amazon Associate, we earn from qualifying purchases.
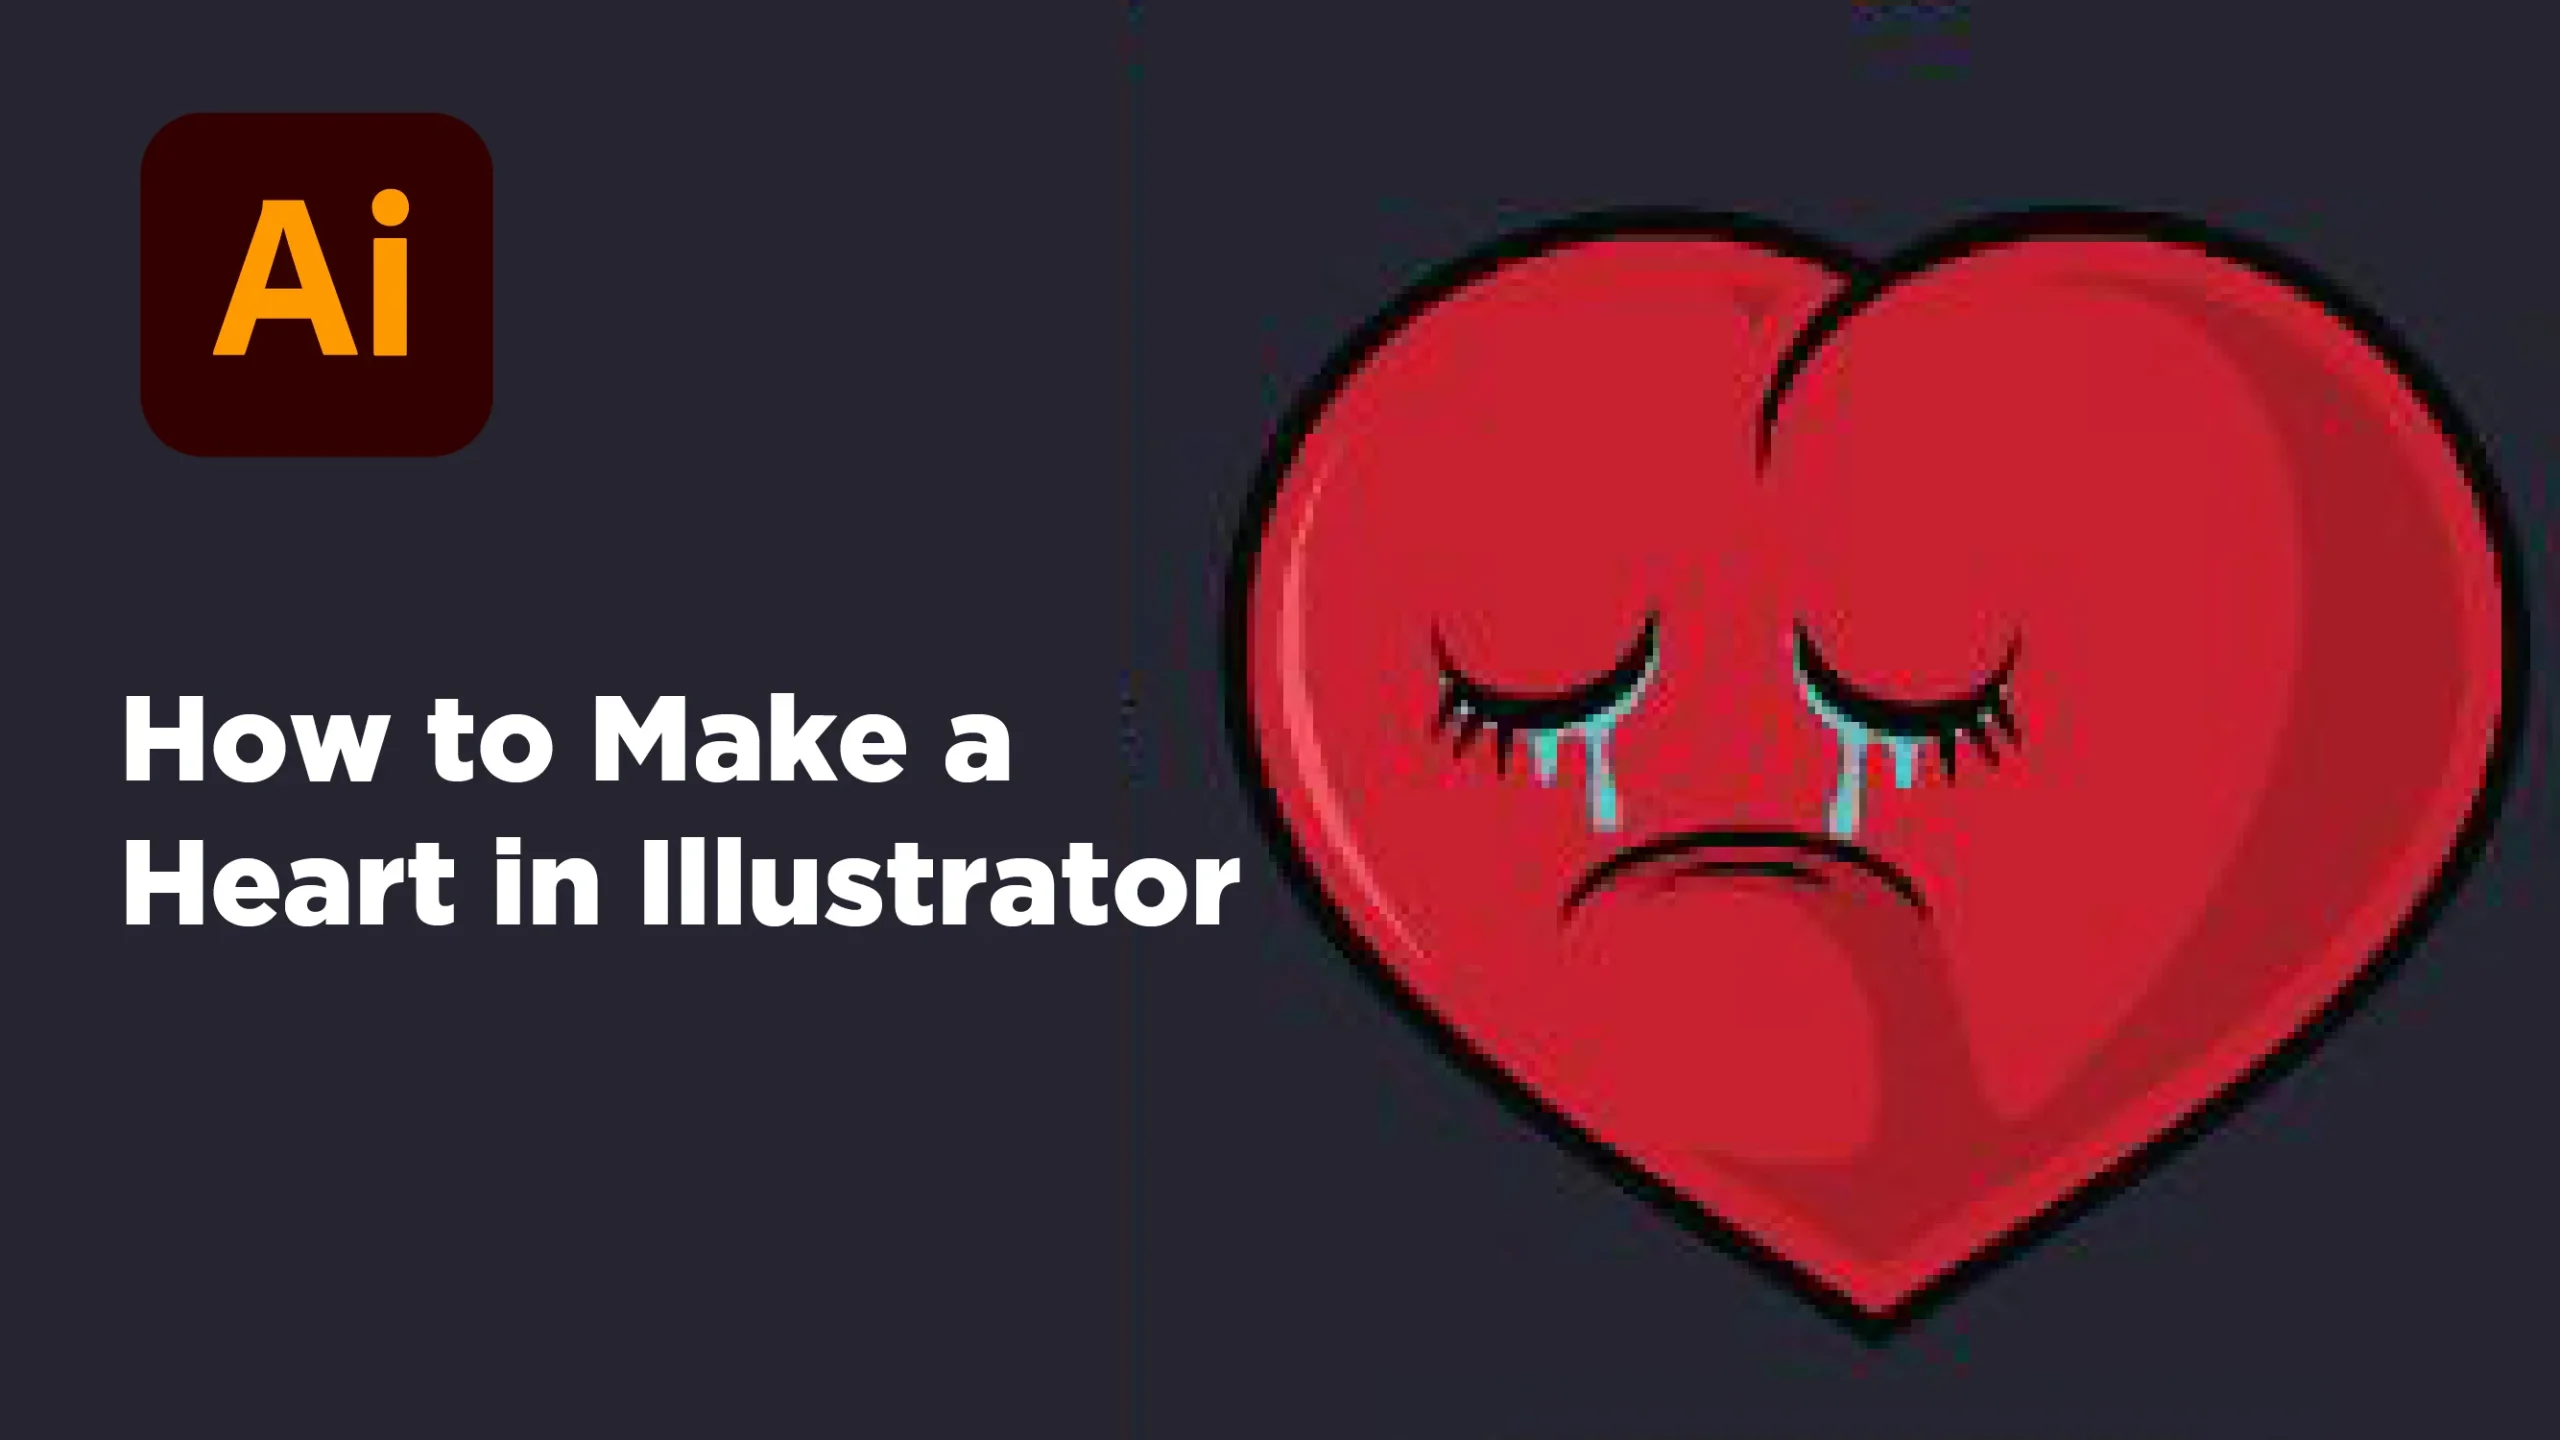
In this post I will show you easy ways you can use to make a heart in Illustrator. You can use different shape tools to create many different designs. We will use different shapes like ellipses and rectangles to create the final shape.
Understanding how to work with shapes is important because it forms the basis for complex designs like logos and more. To create a shape running around a radial motion, check out Illustrator step and repeat options.
Related: What is bleed, and why is it important?
What You’ll Learn
In this tutorial, you’ll learn four different ways to create a heart in Adobe Illustrator. We’ll go through:
- Using Pathfinder to merge or subtract shapes.
- Using the Anchor Tool to curve a rotated square into a heart.
- Using the Pen Tool to draw a custom heart by hand.
- Using shapes (circles, rectangles) with the Shape Builder Tool.
You’ll also discover how to customize your heart with colors, gradients, or effects and how to save it in formats like AI, SVG, PNG, or JPEG for use in logos, illustrations, or web graphics.
Step by Step Video How to make a Heart in Illustrator
Different Ways to Create a Heart in Illustrator
Adobe Illustrator does not offer a specific tool to create a heart shape; you need to use different shapes to create it. Below are 3 methods you can use.
- Method 1: Using Rectangle and Ellipse
- Method 2: Using the Rectangle and Anchor tool
- Method 3: Using Pen or Pencil Tool
- Method 4: Using shapes with the Shape Builder Tool.
Method 1: Creating a Heart in Illustrator Using Shapes
Step 1: Create a rounded-edged rectangle—Using the selection tool, select the rectangle option from the basic Illustrator shapes tool. Click and hold the rectangle tool to bring up the rounded rectangle.

Click and drag to create the shape on the artboard. Before you let go of your mouse, click the up and down arrow keys to adjust the rectangle curve area.
You want it to be as smooth as possible to match the heart shape’s top part. As demonstrated in the image below, make sure the length is greater than the width.
Fill the rectangle with your favorite color or gradient; it is recommended, as it allows you to view end-to-end edges of the shape. Please note: Do not stroke the shape.
Step 2: Go to Window Transform, and a panel comes up. Set the tilt angle to 45 degrees. Simply enter 45 degrees. As soon as you achieve this, duplicate the above shape.

Step 3: Duplicate the round-edged rectangle. Select the shape you have drawn. Click the shortcut Control + C, then Control + F to paste in place.
Step 4: Select the top shape. Object > Transform > Reflect. Object > Transform > Reflect. Choose vertical, then OK. You can move the shape depending on how you want the heart to look.
Alternatively, you can select the two shapes and, using the align function, align them vertically and horizontally towards the center.

IIt will result as per the image shown—a cross-like rectangle—but if you can look at it critically, you will notice a heart formed within the rounded rectangles.
Step 5: Trim off using the Shape Builder Tool. Select the two rectangles, then choose the shape builder tool. Click and drag through the shape, forming a heart to separate it.

Step 6: Click the direct selection tool and delete the unwanted areas. That is it; you now have a vector heart shape that you can change colors or use for different functions.

Method 2: Using the Rectangle and Anchor Tools
You can also use the Rectangle and Anchor tool. Here is how to do it. This method works if you are using Illustrator CC and above. It is not possible if you are using CS6 and below.
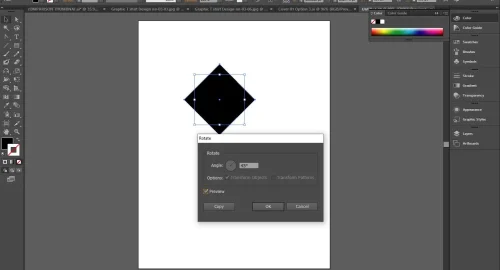
Step 1: Go to the rectangle tool shortcut, M. Click and drag when holding down shift to create a square shape.
Step 2: Select the square, go to Object>Rotate, and a pop-up menu comes up. Set the angle to 45 degrees.
Step 3: Click and hold on the Pen tool to bring up the Anchor Point tool.
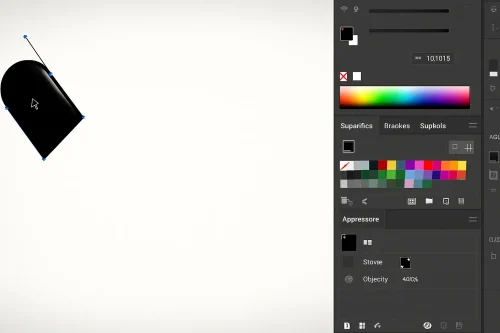
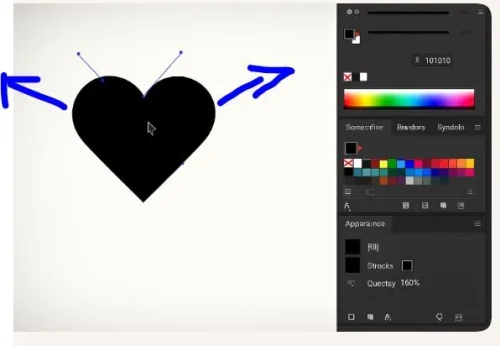
Step 4: Click the top right side line from the middle to form a curve. Do the same for the left side. And it forms a heart.
Method 3: Drawing a Heart in Illustrator with the Pen Tool
Step 1: Pick the Pen Tool (P), then click once at the bottom to set the first anchor point.
Step 2: Click and drag upward to make the left curve.
Step 3: Click and drag the mouse to form a smooth curve.
Step 4: Click right in the top middle to make a point above the bottom point.
Step 5: Click and drag downward to make a similar curve on the right side.
Step 6: Click on the original point to join and finish the shape. You can use the direct selection tool to adjust where necessary.
Method 4: Using shapes with the Shape Builder Tool
- Step 1: Create a square shape by drawing a rectangle and holding down shift.
- Step 2: Rotate it for one corner to face up and one downwards with the other two right to left.
- Step 3: Create 2 circles with the ellipse tool, one on the top left of the square and the other on the top right.
- Step 4: Use the Shape Builder or Pathfinder>Unite to create your heart shape.
Conclusion
By following either of the above steps, you will have created a simple heart shape. To add the facial effects like the sample, follow the below steps.
We now want to add the crying eyes like on the other design. Choose the ellipse tool and make a long oval-like shape like below.
Step 1: Go to Brush and click the three lines on the top right of the panel. Choose to create a new brush. You have just created a brush. You can now use it to draw the eyes.
Step 2: Choose an art brush from the pop-up. A new pop-up panel comes up. Choose tints in the next one under the method. Leave everything as default, then choose OK.
Step 3: Pick the brush tool, and you can click and drag to draw the eyes. If your hands are not steady, you can use the Pen tool. Draw the eyebrows as well, but change the stroke type to width profile for the brows.
Step 4: For the tears, choose the pen tool and draw. Check out the previous article on how to use the pen tool. Duplicate the eye and tears after positioning, then reflect to the other side. If you are lost, just comment, and we will send you the full video.

If you would like to know how to create the previous post on how to curve text. Additionally, I will show you how you can make the below heart-shaped designs from your original. One is a crying heart illustration with eyes, while the other is a text-filled heart shape.

Frequently Asked Questions
How can I save a heart shape in Illustrator?
You can save in different formats depending on usage. To save as an editable file for future editing, Go to File > Save As → choose .AI format. For web/vector use choose File > Export > Export As → choose SVG. To save as an image: Use Export As → choose PNG or JPEG.