As an Amazon Associate, we earn from qualifying purchases.
You can flip an image in Illustrator to simply get a view from another angle. When designing, you can use the effect to get a reflection effect or duplicate and flip to create the other half of an image of an object or image.
In this post I will show you different ways you can use to flip images vertically, horizontally and more in Adobe Illustrator.
To achieve the effect, we will use the Reflect Tool and Transform Tool. When you understand what image flipping in Illustrator means, you will be able to apply this to create different designs.
- Method 1: Using the Transform Tool
- Method 2: Using the top Transform panel
- Method 3: Using the Reflect Tool (O)
Method 1: Flipping using the Transform Tool
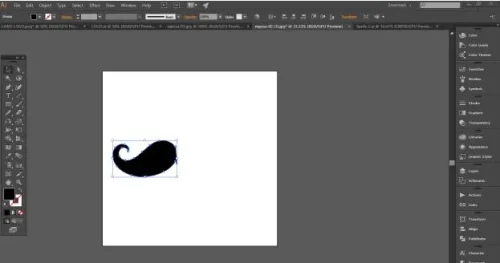
To understand how it works and how you can use it, I will use the below image.

Step 1: With the image open in Illustrator, choose shortcut V to choose the selection tool. Click on the image to select it.
Step 2: With the image selected, go to Object > Transform > Reflect on the top menu.
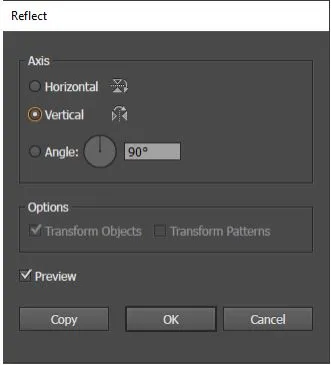
Step 3: A menu pops up that allows you to choose to reflect either horizontally or vertically. The angle determines the extent and direction. I will choose 90 degrees for example. Toggle preview to see how it is affected.
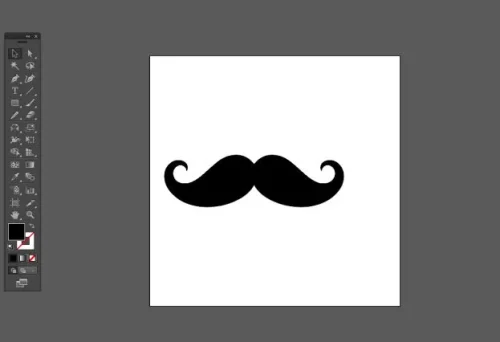
Step 4: Click ‘Ok’ to accept the changes. To make this useful in this instance, start by duplicating the object to create a moustache illustration. To do this, first select the object, then go to Edit > Copy (Control + C), then Edit > Paste in Place (Control + F).
Now follow the flipping process on the duplicate. Use the selection tool and drag to place like below.
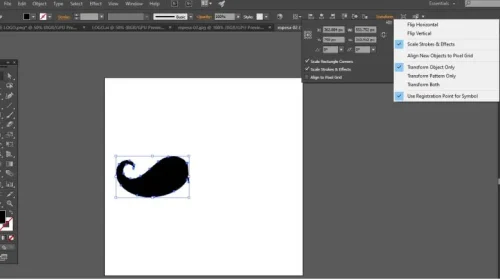
Method 2: Flip using the top Transform panel
You can also use the transform option on the top menu. With the object selected. Click on the top transform menu. Choose the three lines from the pop-up top right corner. Choose Flip vertically or horizontally. The image or object is flipped.
Method 3: Flip an Image with the Reflect Tool (O)
You can also use the Reflect tool shortcut (O). The reflect tool is found under the rotate tool.
Step 1: Select the image using the selection tool shortcut (V) and click on it.
Step 2: Choose the reflect tool shortcut (O).
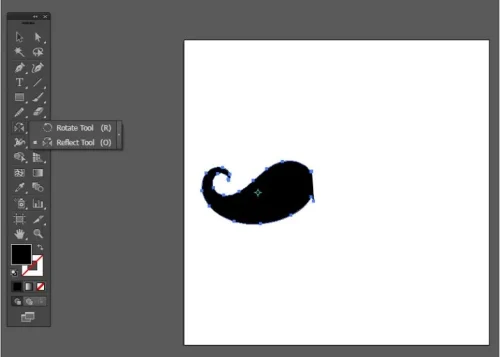
Step 3: When on the tool, you will notice a centre point indicated in blue. This anchor point is the point where the flipping image will base its centre. You can move the point.

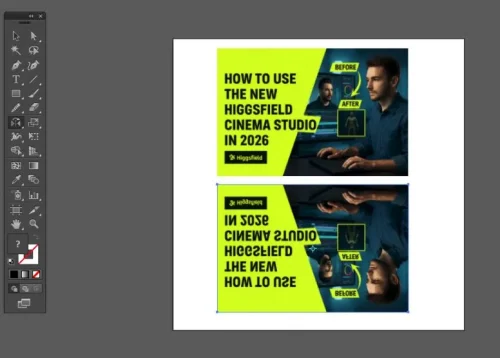
Step 4: Click on the object and drag it in the direction you want it to flip. Below is a before and after image.
Conclusion
These 2 methods are simple options you can use. You can use any of the 2, but I prefer using the transform option because it offers more options and flexibility.
You can use this effect when drawing. Most artists do not have to draw the whole face or illustration. You can just draw one half and then just duplicate and flip to fill the other half.
Frequently Asked Questions
How can you mirror an image in Illustrator?
First duplicate the object such that you have two copies. Select the object, then choose Edit > Copy (Control + C), then Edit > Paste in Place (Control + F). Go to Object>Transform>Reflect, toggle vertical,and set the angle to 90 degrees. Use the selection tool and click, then drag to place the duplicate in place.
Does flipping an image lower its quality?
No. Flipping does not affect image quality. When working with raster images, make sure to consider the original quality of the image.